How to start a new form?

How to start a new form?

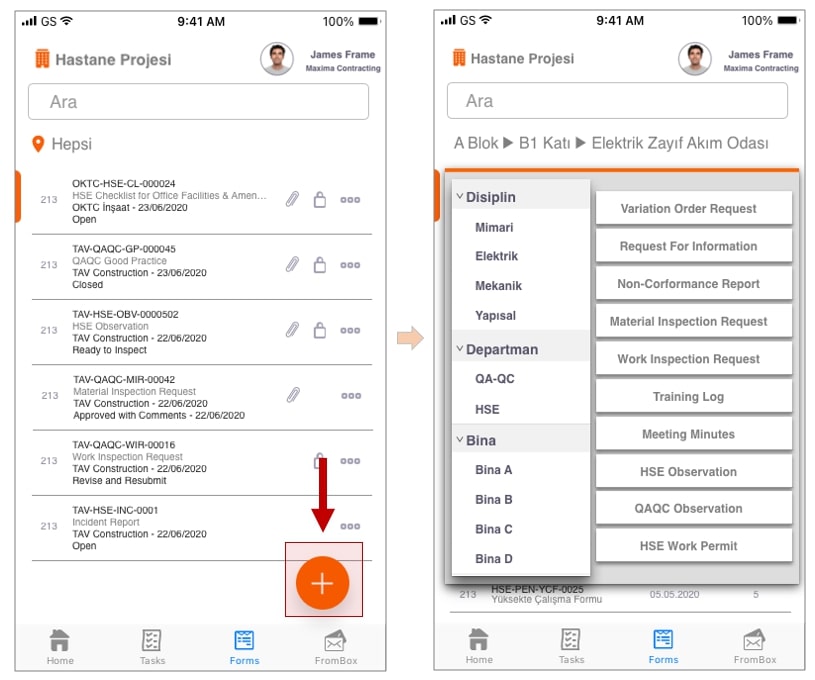
In order to start a new form, follow the below steps.

Navigate to the Forms page

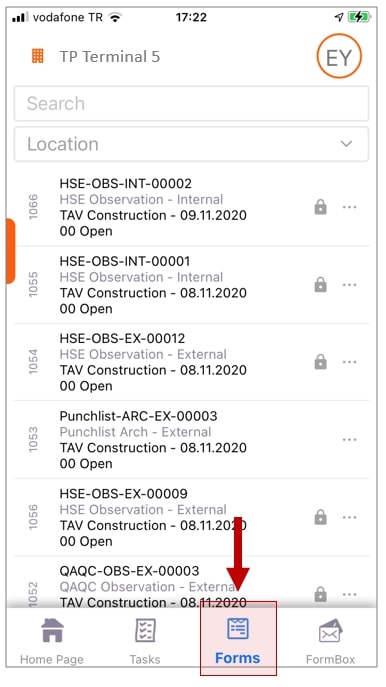
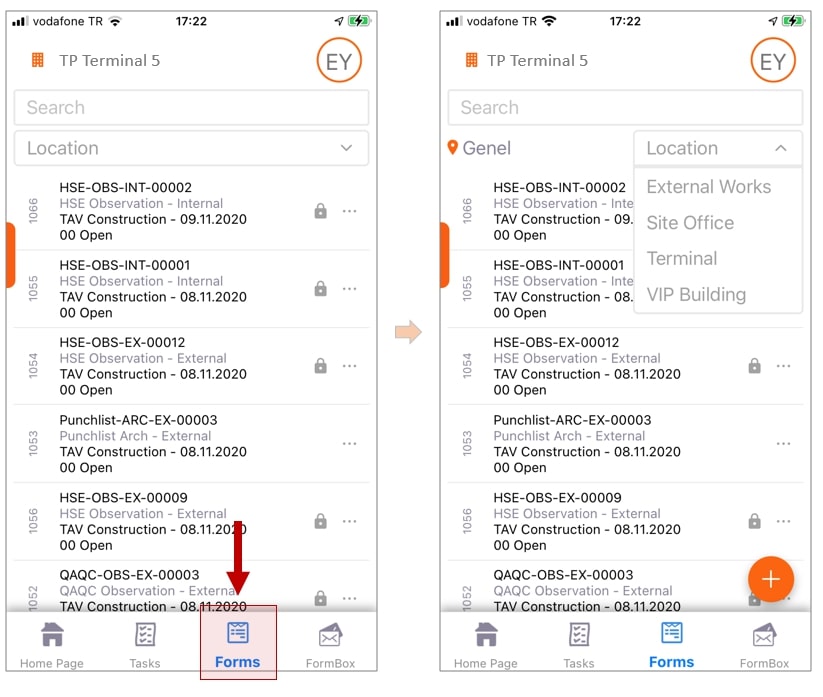
First, go to the ‘Forms’ page by clicking on the ‘Forms’ icon on the bottom ribbon of the application.

Once you are on the Forms page, you will see a list of all forms that have been initiated by your organization. If no process has yet been initiated, you will see a blank page.

Create a new Form

In order to initiate a new form, first select the location from the top menu of the Forms page. Only after you have selected your location will the plus icon to initiate a new form appear on the bottom right of the page.

Next, click on the plus icon on the bottom right corner of the Forms page. You will then be asked to select the form template you would like to initiate. Use the filtering options to choose the desired form template.

You can only choose from forms that you have access to. If you do not see a form template in the filtering options, it may be because you do not have access to initiate that form template. Contact your project administrator in order to get access to initiate more form templates if necessary.

If you do not see the plus icon, you are most likely not assigned to a role that has permission to start forms. Contact your project administrator to be assigned to a user role that can initiate forms.

When selecting a form template, you may get the following error: 'To add a new Form, you must enter the location data completely: Level 3'. This means that you have to specify your location in more detail (the level indicates how many subcategories you need to specify) in order to select the chosen form template.

Once the form template is chosen, fill in the form in three simple steps:

  1. Fill in Standard Form Data,
  2. Fill in the Custom Attributes, and
  3. Select attachments if required.

The top navigation bar will guide you through each of these steps. You can navigate from one step to the next by clicking on the ‘Next’ icon on the bottom right of the page.

For a more detailed explanation on how to fill in a form, refer to the pages below:

How to fill in form attributes – Detailed look

How to manage attachments on forms – Detailed look

Save or send your form

You may save your form at any point. In order to save and continue later, you can click on the ‘Save’ option on the bottom ribbon of your screen. You may choose to return to this form and send it at a later time, or you may choose to not send the form and save it for your own records only.

If you do choose to send a saved form, use the steps described in How to send your form.